ARCGIS DESKTOP
— ARCGIS DESKTOP 10.8.2 —
IMPORTANT NOTICE: ESRI has retired ArcGIS Desktop. There are no plans for future releases of ArcGIS Desktop, and it is recommended that you migrate to ArcGIS Pro.
ArcGIS Desktop is a complete desktop GIS software suite that allows you to create maps, perform spatial analysis and manage data.
You can perform the installation and activation of the software by following the steps below.
[1] Note: ArcGIS Desktop software is available to both staff and students under the license agreement.
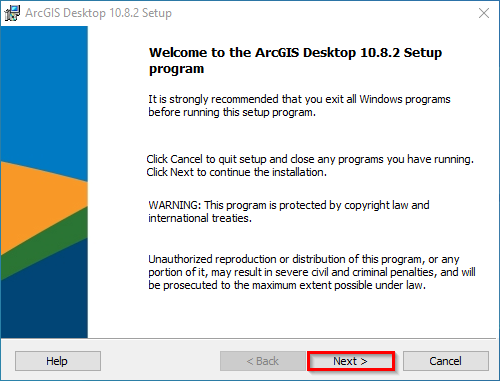
For installation, click the “ArcGIS_Desktop_1082_180378.exe” installation file in the iso file and run it, then click the “Next” button to proceed.
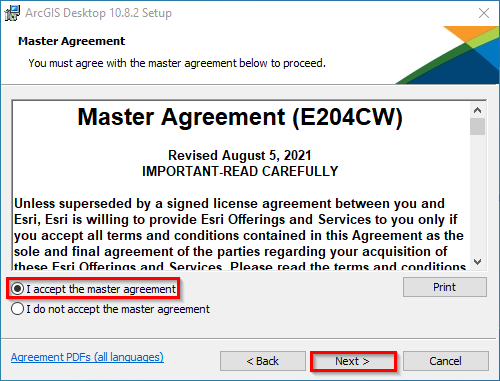
STEP-2
Check the "I accept the master agreement" option. Then, proceed by clicking the “Next” button.
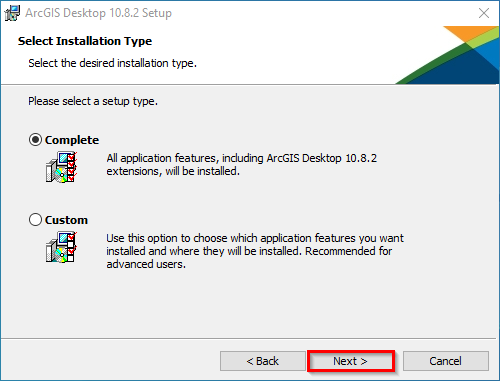
STEP-3
Proceed by clicking the “Next” button.
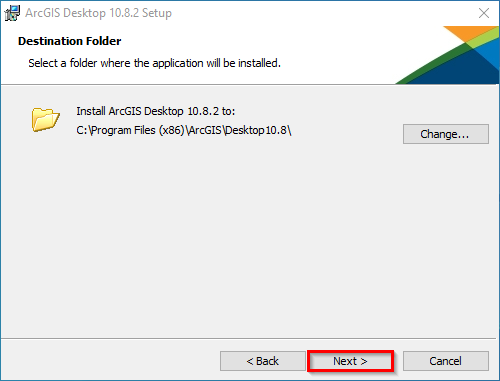
STEP-4
Proceed by clicking the “Next” button.
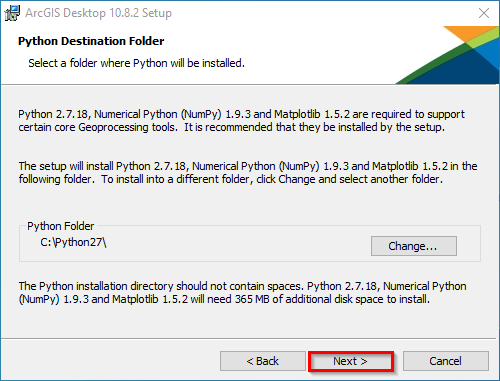
STEP-5
Proceed by clicking the “Next” button.
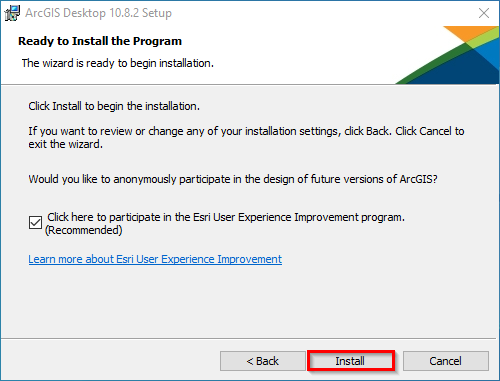
STEP-6
Proceed by clicking the “Install” button.
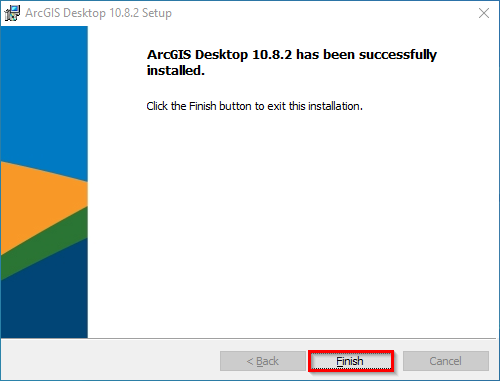
STEP-7
Click on the “Finish” button to complete the installation process.
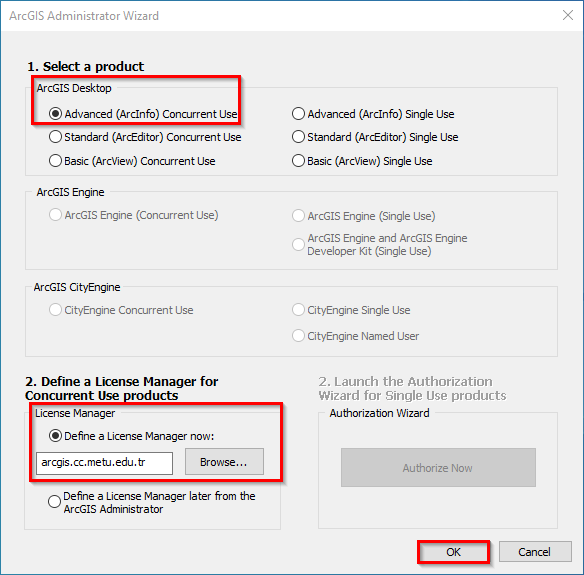
After the installation is finished, the “ArcGIS Administrator Wizard” window will open. Check the “Advanced (ArcInfo) Concurrent Use” option under the ArcGIS Desktop heading to select the software to use. Then, for the activation process, type "arcgis.cc.metu.edu.tr" as the license server name in the field under License Manager and then click the "OK" button.
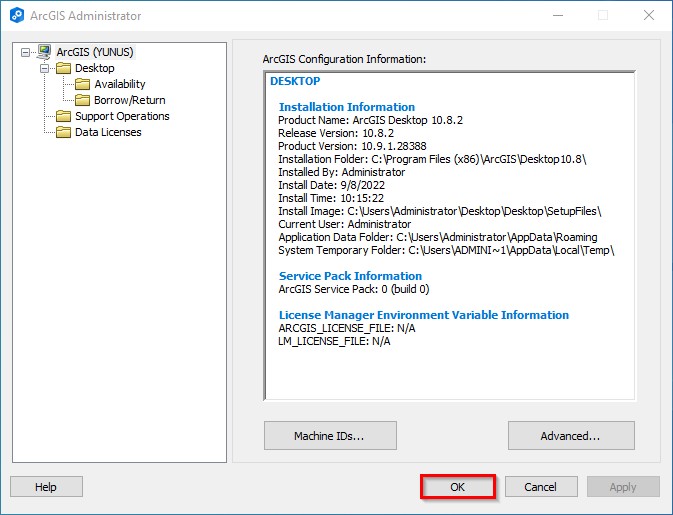
STEP-9
In this window, you can access information about the software you have installed and the current license availability. You can close the window by clicking the “OK” button and start using the software.
Contact us: https://itsupport.metu.edu.tr/