MICROSOFT WINDOWS
WINDOWS 11
Before you begin;
[1] Make sure the device you want to install Windows 11 on meets the minimum system requirements.
[2] If your device is currently running Windows 10, we recommend you verify the minimum system requirements using the PC Health Check app.
[3] Microsoft does not recommend installing Windows 11 on a device that doesn't meet requirements.
Windows 11 supported Intel processors
[1] Note: You can perform the activation process of the Windows 11 software in a similar way by following the Windows 10 activation steps!
WINDOWS 10
What to do if you have a Windows activation problem - 1
What to do if you have a Windows activation problem - 2
NOTE: Regarding Windows 10 extended security updates (ESU)
According to information we've obtained from Microsoft's support pages, ESU is only active on Windows 10, version 22H2 Home, Professional, Pro Education, or Workstation editions. If you're using one of these editions, you can register for ESU by following the steps on the page below. Once you've completed the process, you should see the registration option on the Windows Update page, as shown in the screenshot.
https://www.microsoft.com/tr-tr/windows/extended-security-updates

Special Note: Operating systems are available for personnel only.
Step 1: Initially, after you insert the Windows 10 DVD into the computer, press any key to boot from DVD.

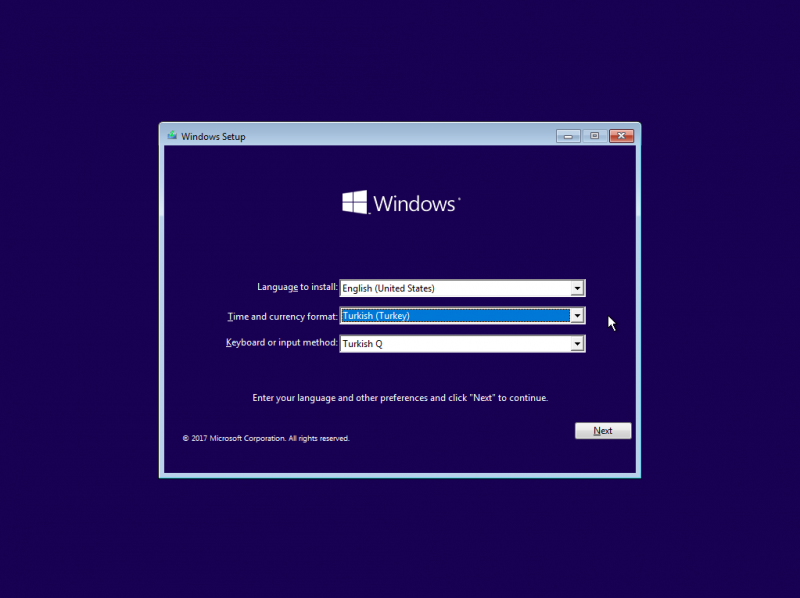
Step 2: Select the language and other options you want to install on the incoming screen and click on the Next button.
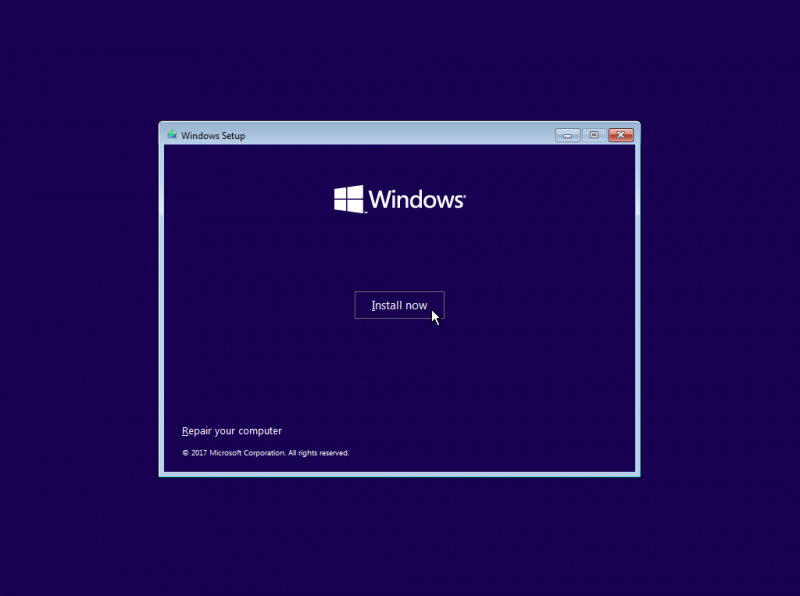
Step 3: On the screen that appears, click Install Now.
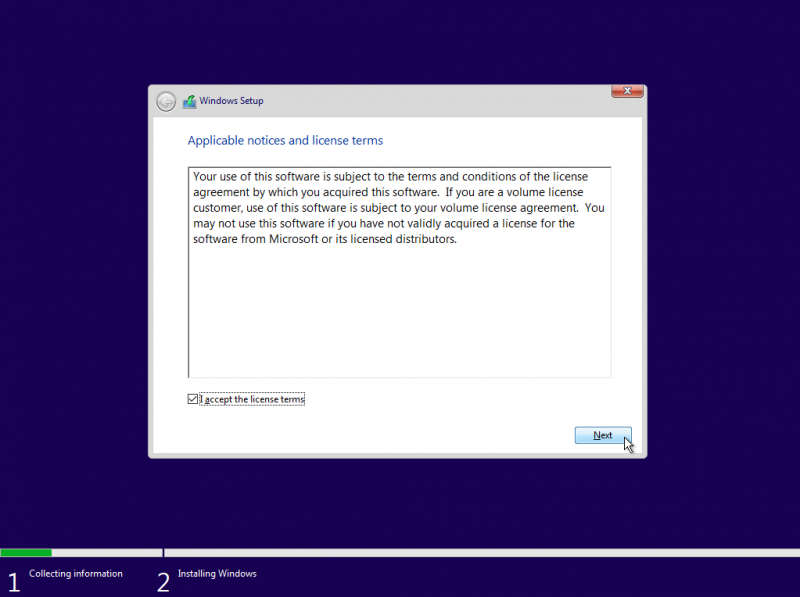
Step 4: Check the box next to I accept the license terms and click on the Next button.
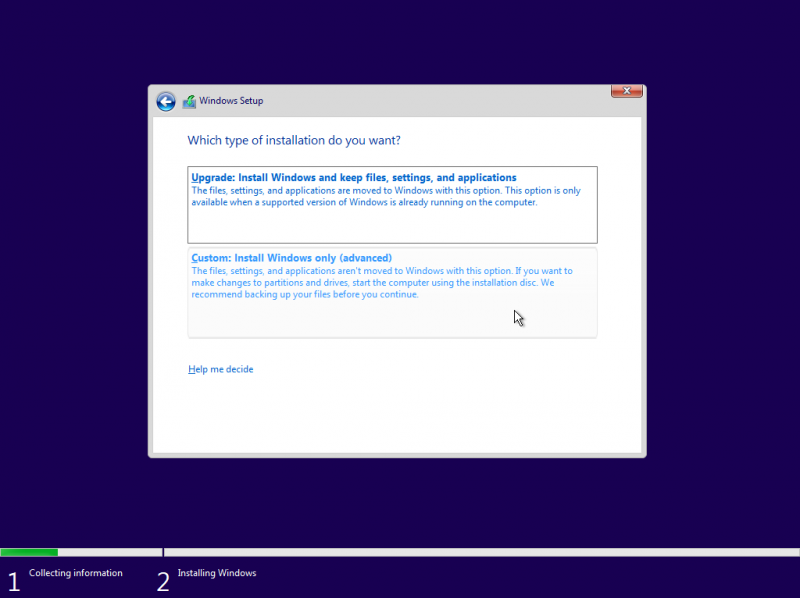
Step 5: Click Custom: Install Windows only advanced. So you can do a clean installation. If you are upgrading from a previous version of Windows, click "Upgrade: Install Windows and keep files, settings, and applications". So you will also keep your files when upgrading your Windows version to 10.
Step 6: Once you have selected the disk partition you want to install, click on the Next button.
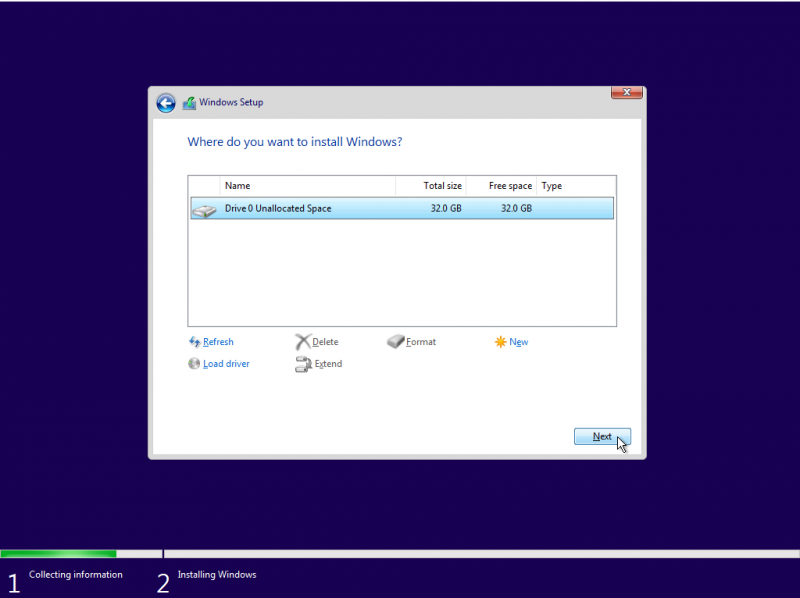
Step 7: The installation process will begin. This may take some time.
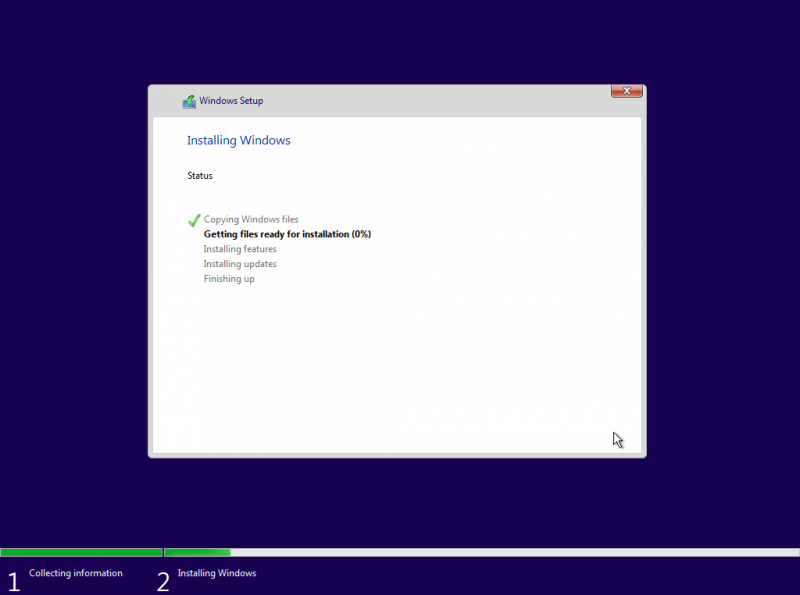
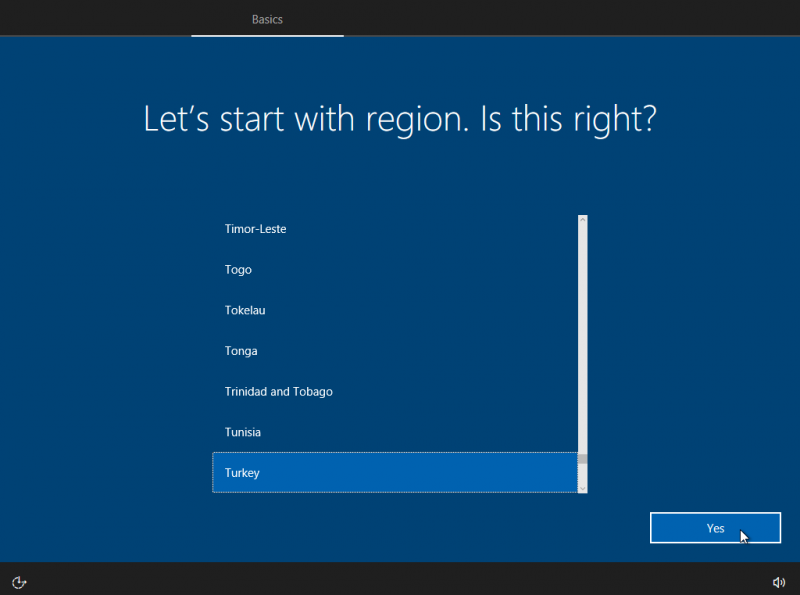
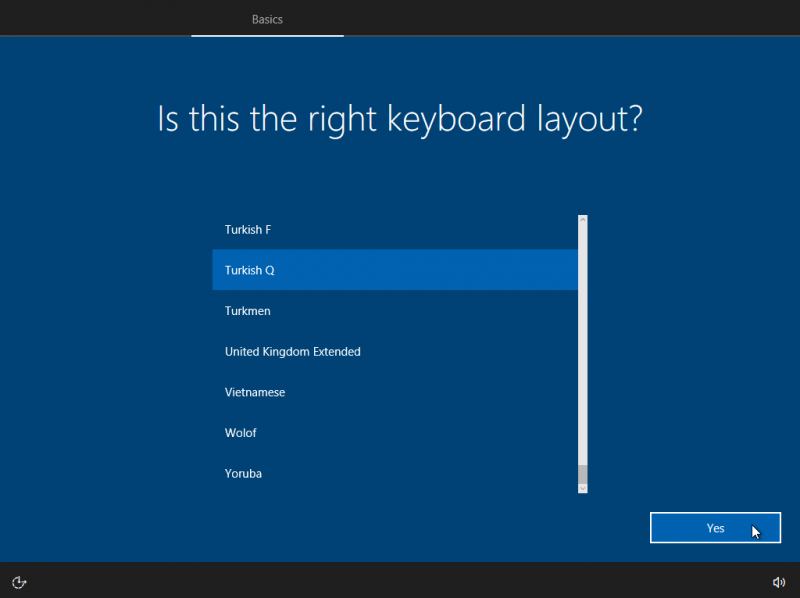
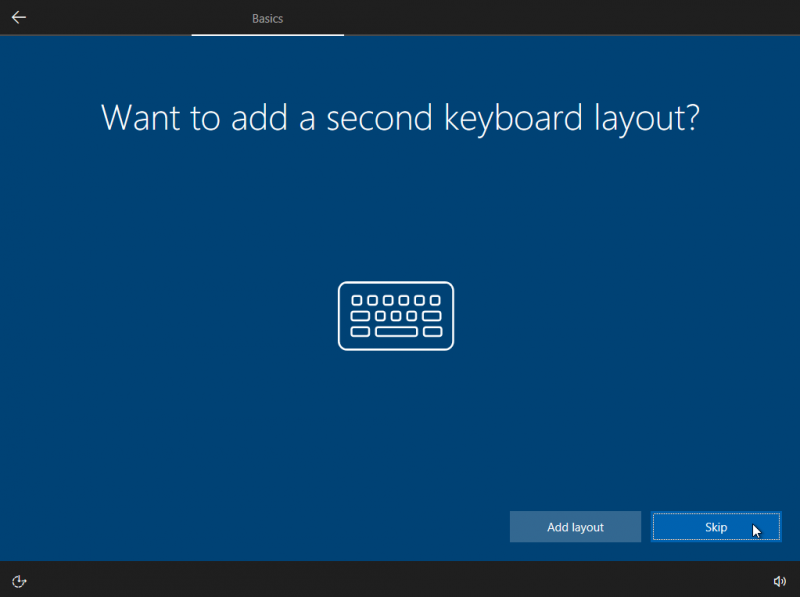
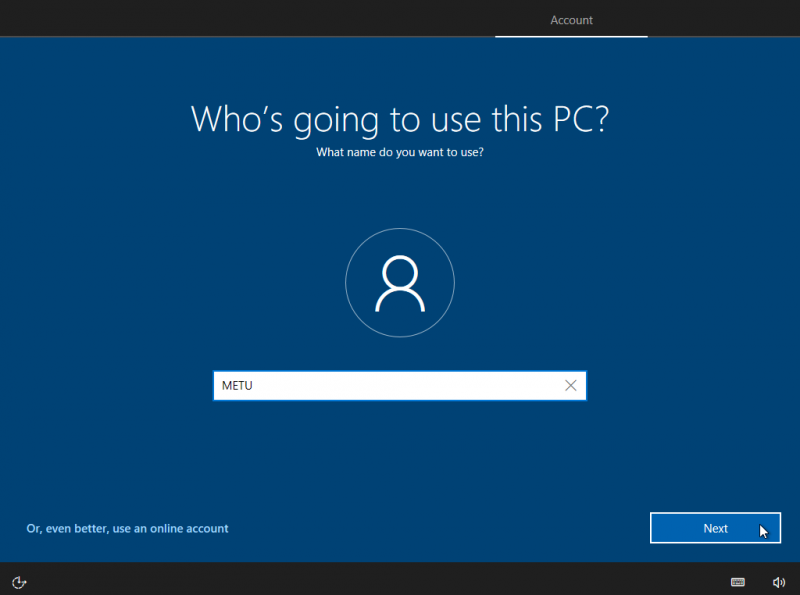
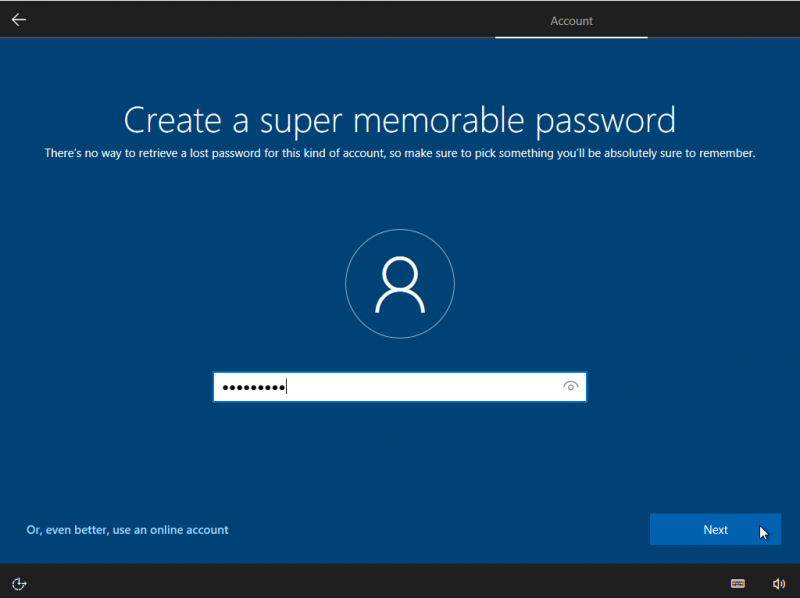
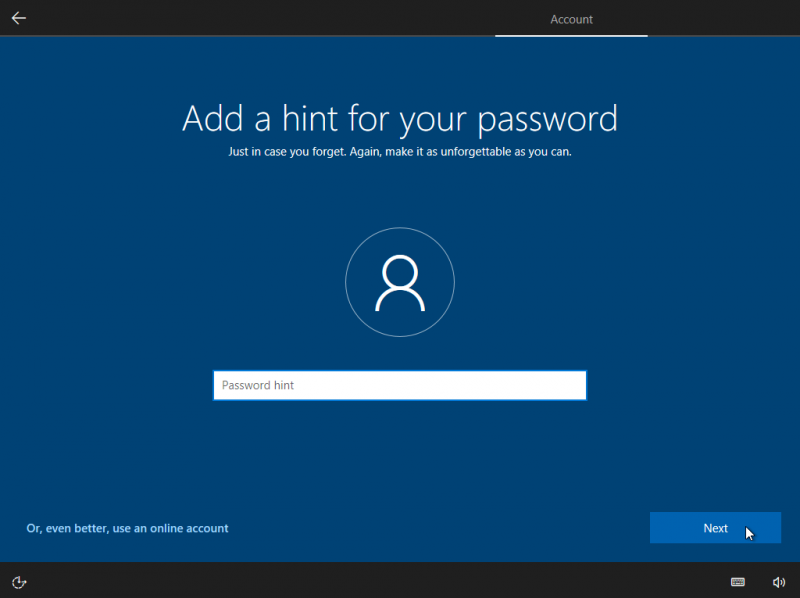
Step 8: After installation is complete, screens will appear for you to personalize your personal computer. Continue after filling in the required fields on these screens.
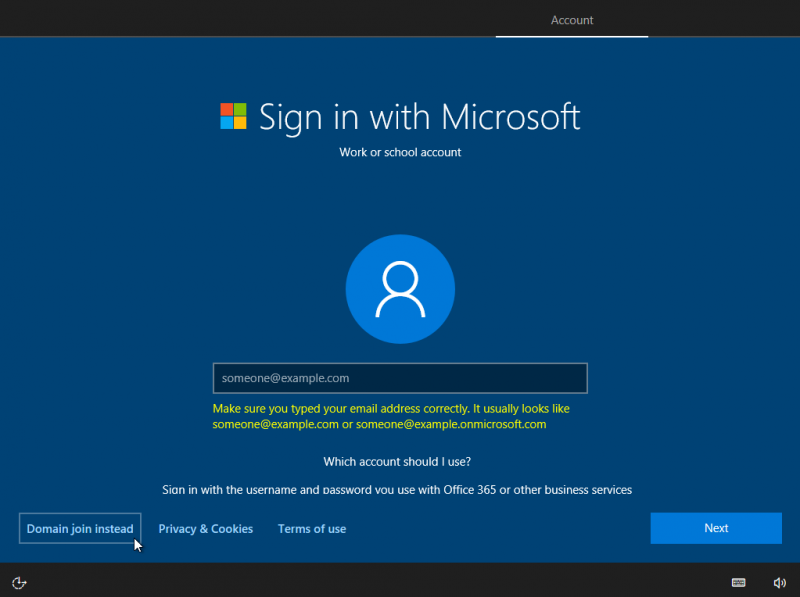
Step 9: In the step of selecting a user on a computer, you can continue with your Microsoft account, or you can create a local user account on the computer by clicking Domain join instead.
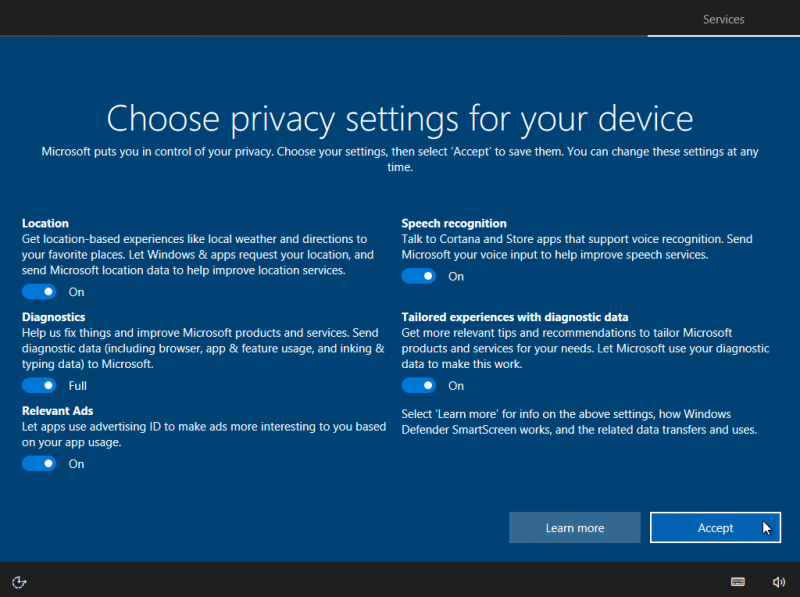
Step 10: Complete the setup by selecting your computer's privacy settings.
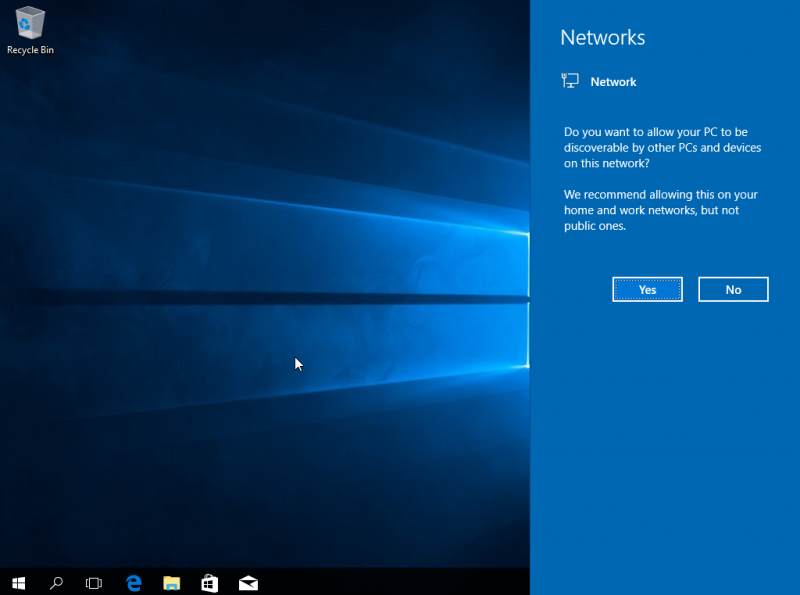
Step 11: Windows 10 installation is complete.
First Method
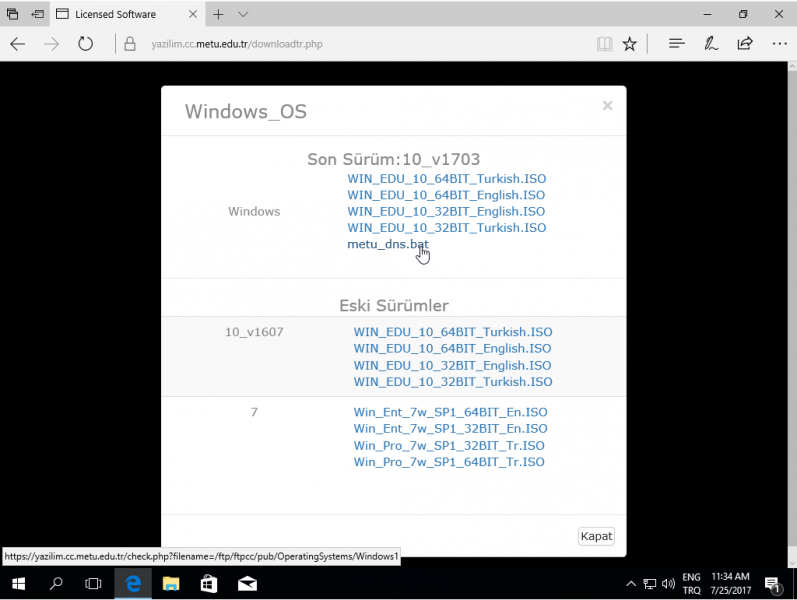
Since Microsoft operating systems and software are provided with volume licensing agreements, activation of products is done not by entering a product key but by connecting to the campus network where the users are located and to the product activation (KMS) servers. For this reason you should activate your Windows 10 operating system downloaded from http://software.cc.metu.edu.tr/ in accordance with the following instructions after installation.
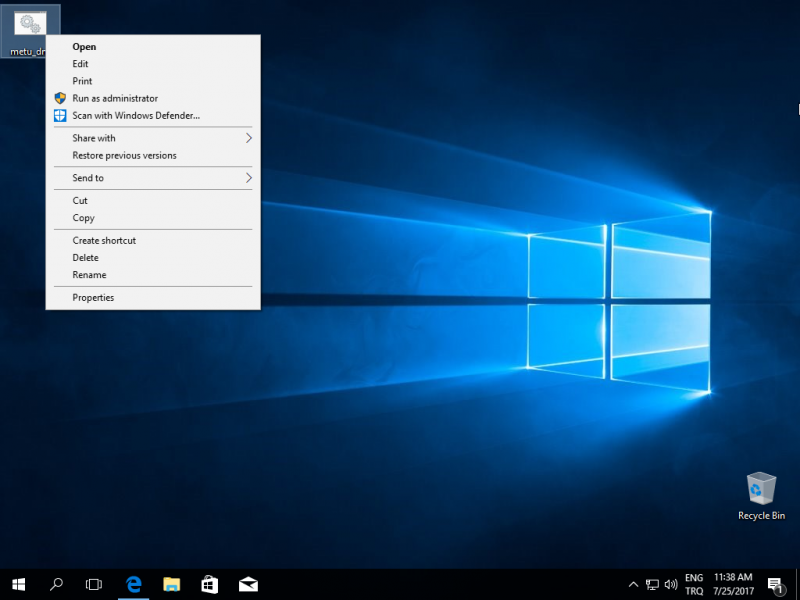
Step 1: Download "metu_dns.bat" file from here. (Only available for METU staff)
2.Adım: You should right click on the file and select Run as administrator from the pop-up menu. You will need to restart the computer after you run the file.
3.Adım: Under normal conditions a Windows 10 connected to the METU campus network will automatically be activated within 3 days without any user intervention. It is necessary to be connected to the network once within the campus within 30 days after the installation and be approved from the activation server. After that, your Windows 10 computer can be used for 6 months out of the campus or without connected to the network. Computers with Windows 10 will automatically connect to the activation server at various times within 6 months to renew activation and will continuously extend this time.
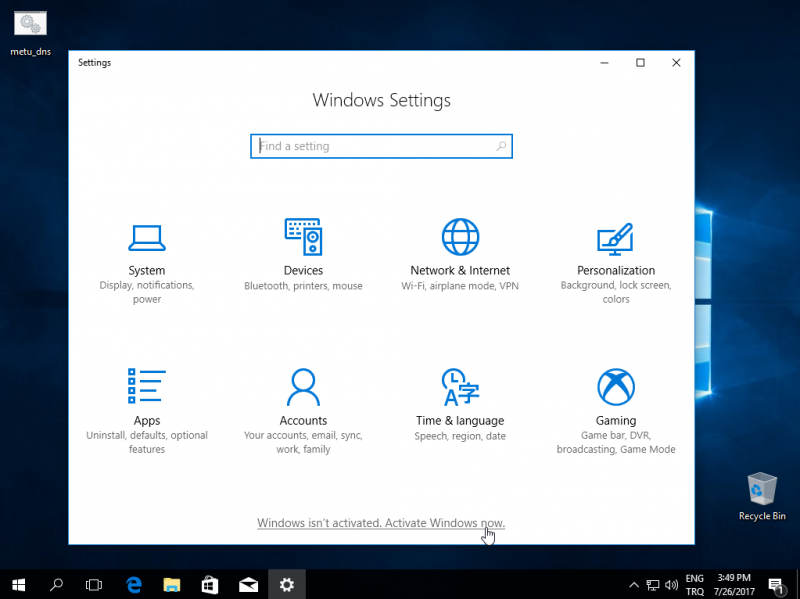
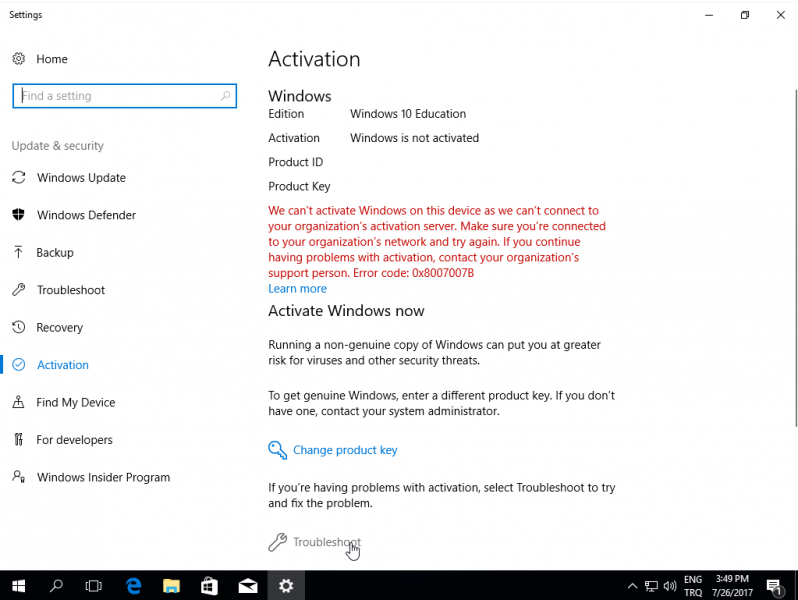
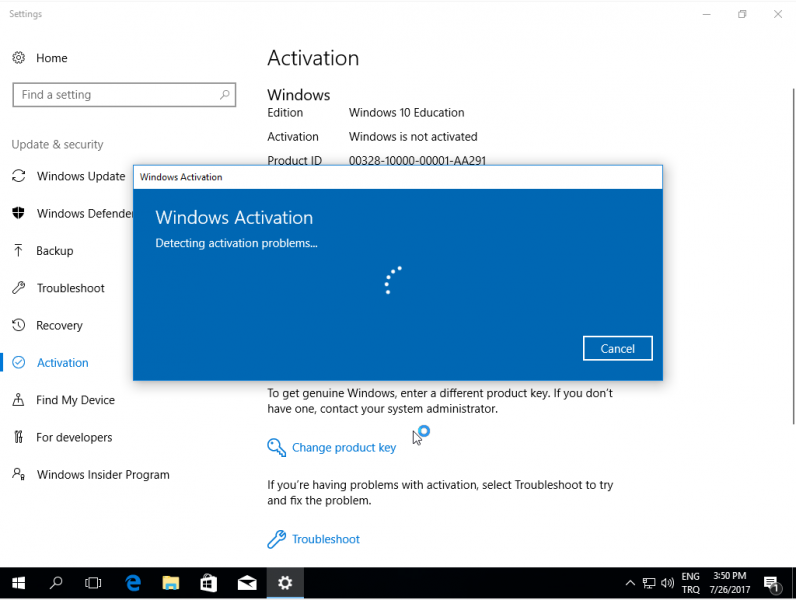
You should follow this procedure to perform the activation immediately without waiting for the completion of the activation after a while:
Settings > Activate Windows now > Troubleshoot
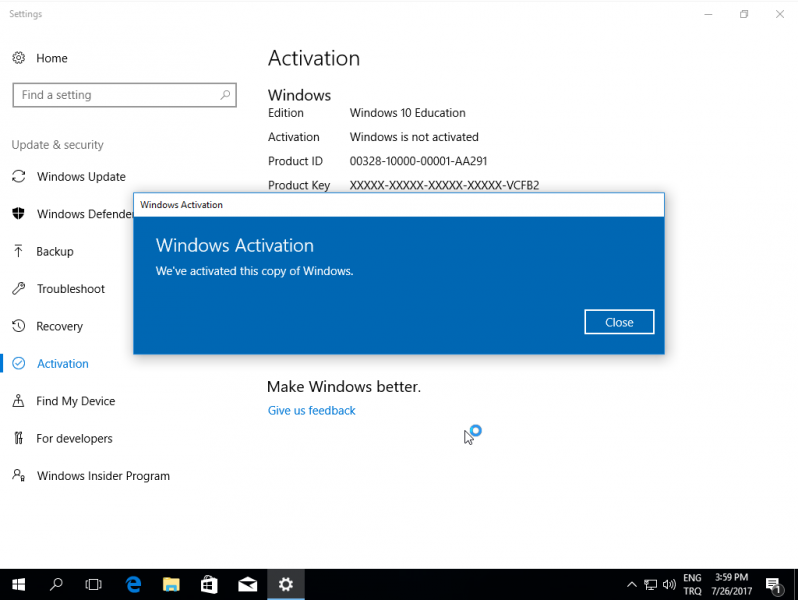
Second Method
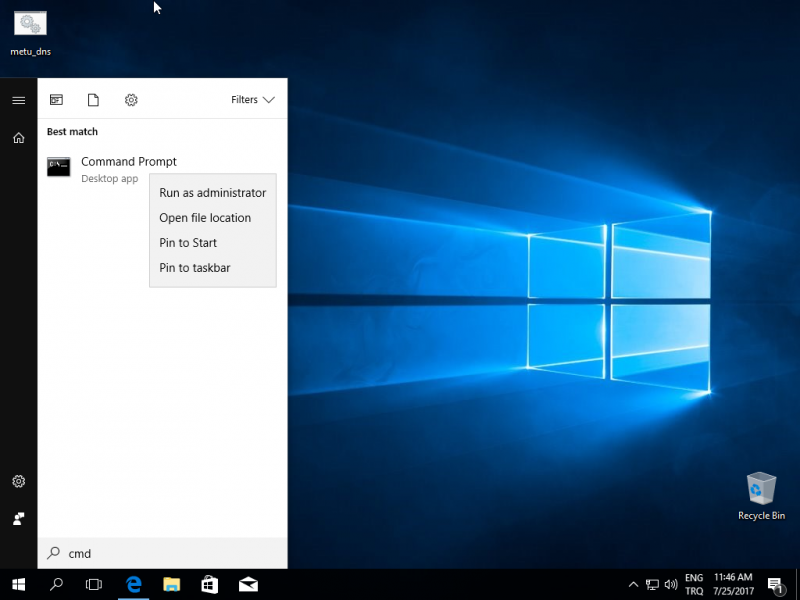
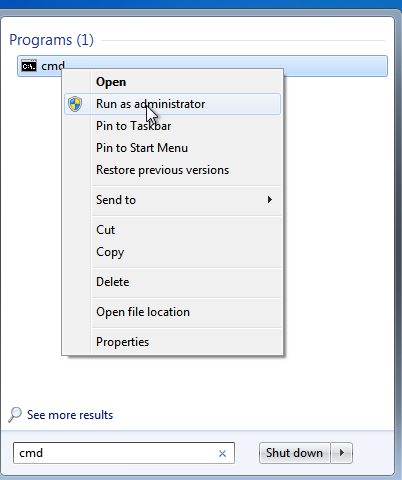
If automatic activation does not work, cmd.exe at C:\Windows\System32 location or type cmd after the start key is pressed, right click to the Command Promt application and select Run as administrator.
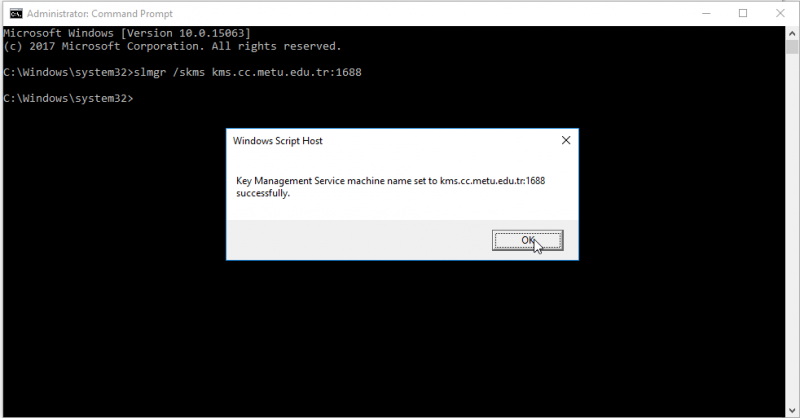
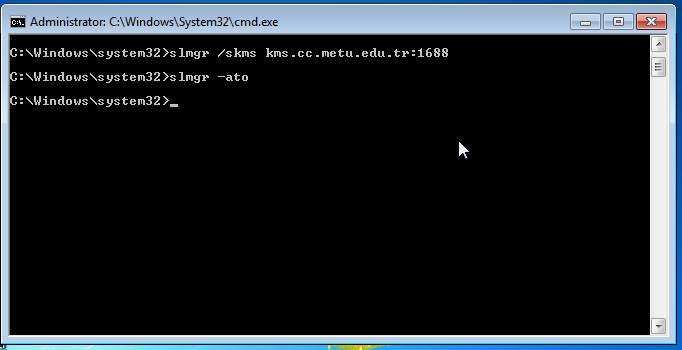
The following command should be entered after the command line window:
slmgr /skms kms.cc.metu.edu.tr:1688
After hitting return key, the dialog window telling that command has been processed should be closed by clicking "OK". Then
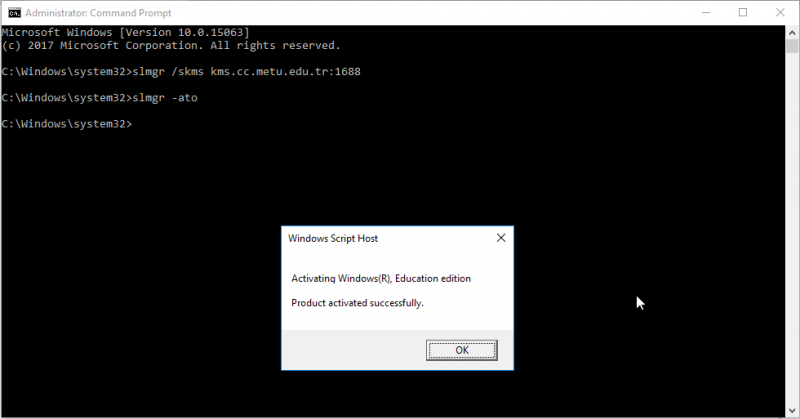
slmgr -ato
command should be entered. It may last for 20 seconds to a dialog window saying that Windows is activated successfully.
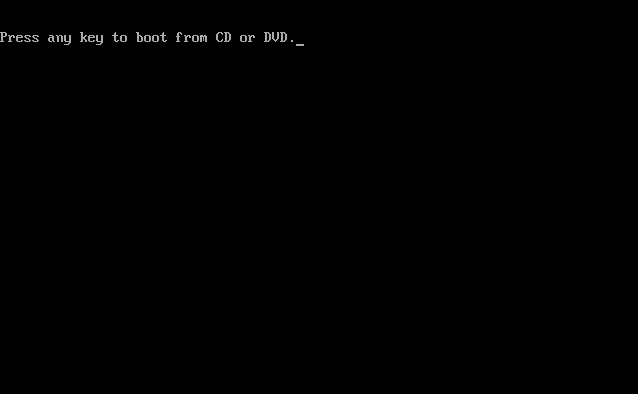
Step 1: First of all, you should run the pc with Windows 7 disc. When you see “Press any key to boot from CD or DVD” message, you should press any key.
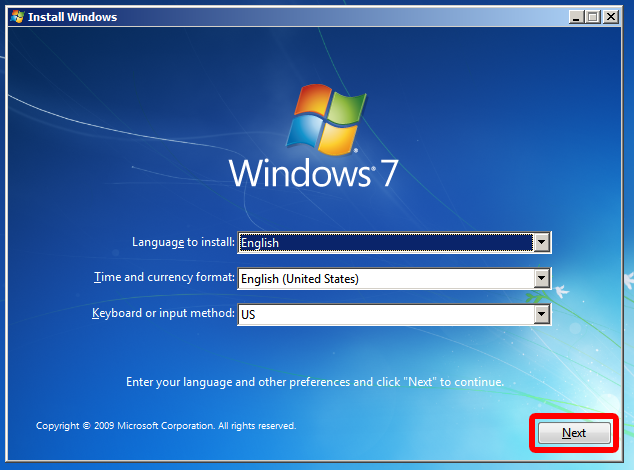
Step 2: Then, you should choose language that you want and click Next button.
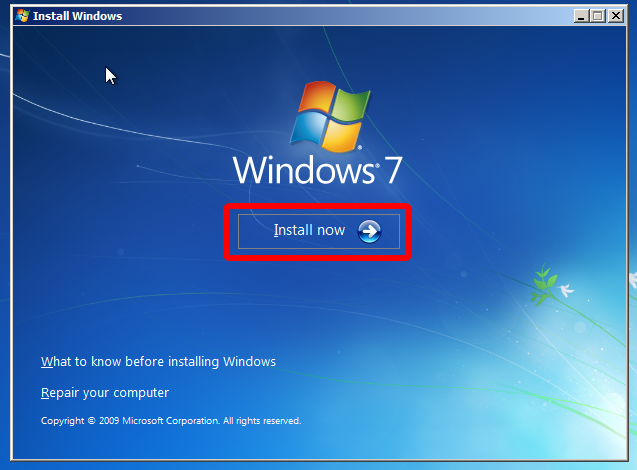
Step 3: You should click Install Now button to continue.
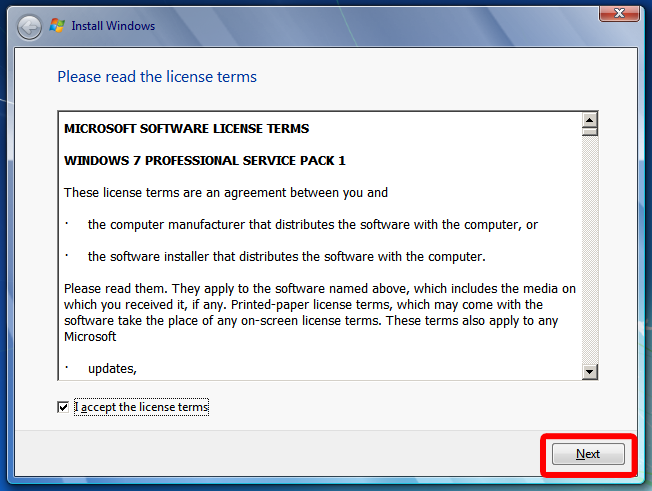
Step 4: You have to accept license terms. Therefore, you must click checkbox to install Windows. Then, you should click Next button.
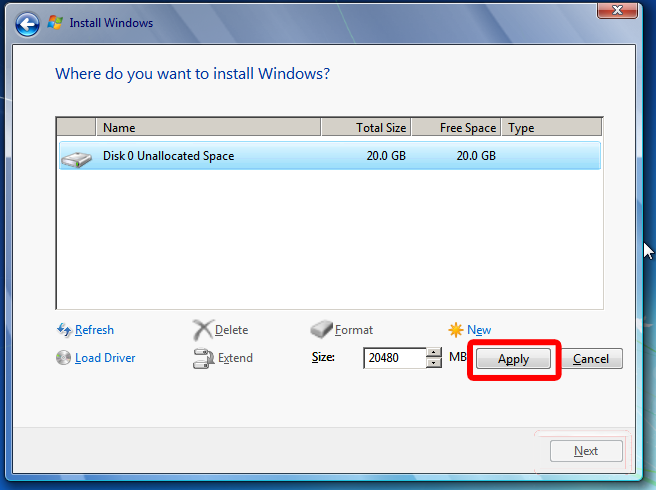
Step 5: Here is a partition screen. You should click New option and then click Apply button to create new disc. (Specified disc space is an example. You can create disk space what you need.)
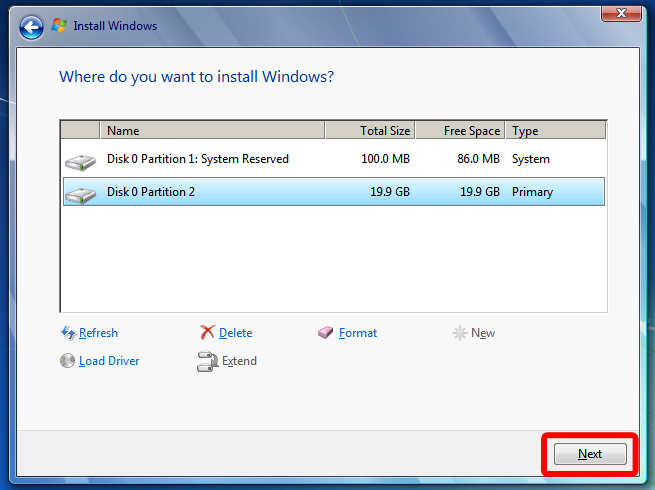
Step 6: You must select Primary disc. Then you should click Next button to go to next step.
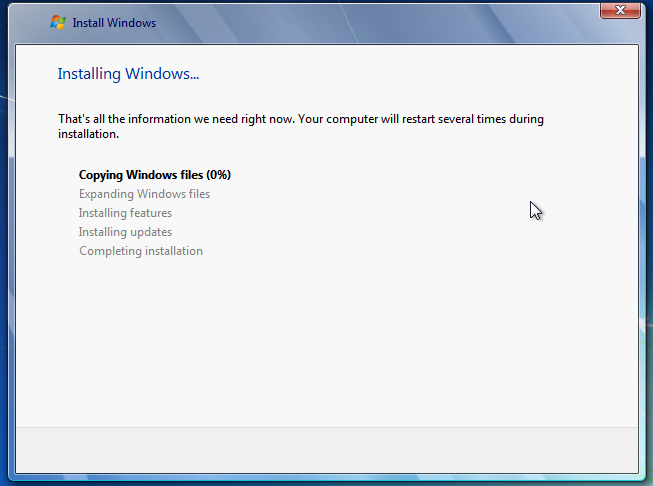
Step 7: Installing Windows. This will take time.
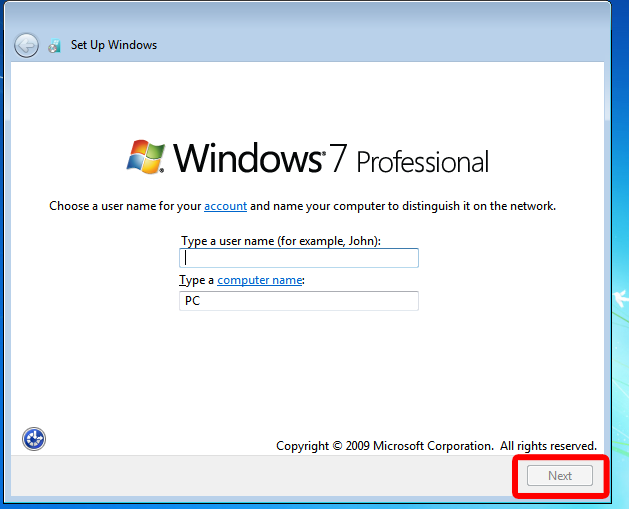
Step 8: You will start doing some of the final configuration. First, you should specify a default username, and then just click Next button.
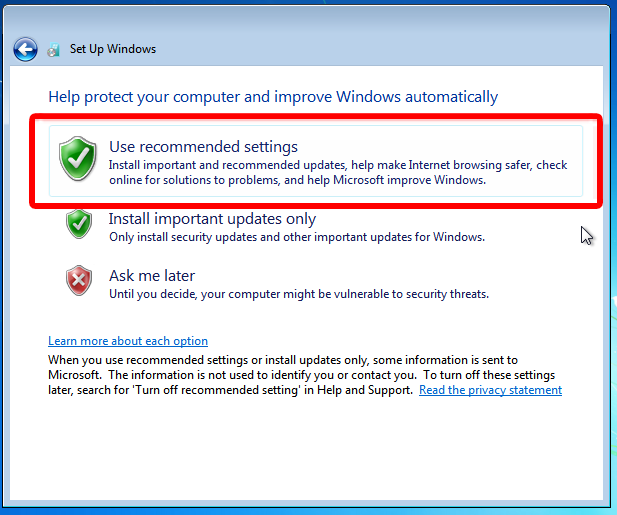
Step 9: You can continue by using recommended settings.
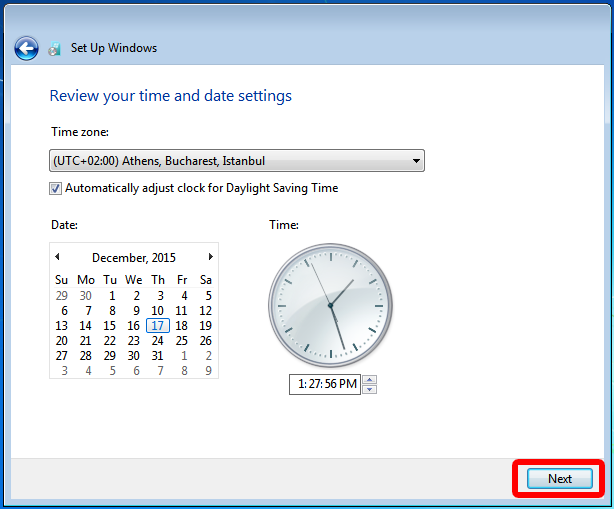
Step 10: On the screen, you should set your time and time zone.
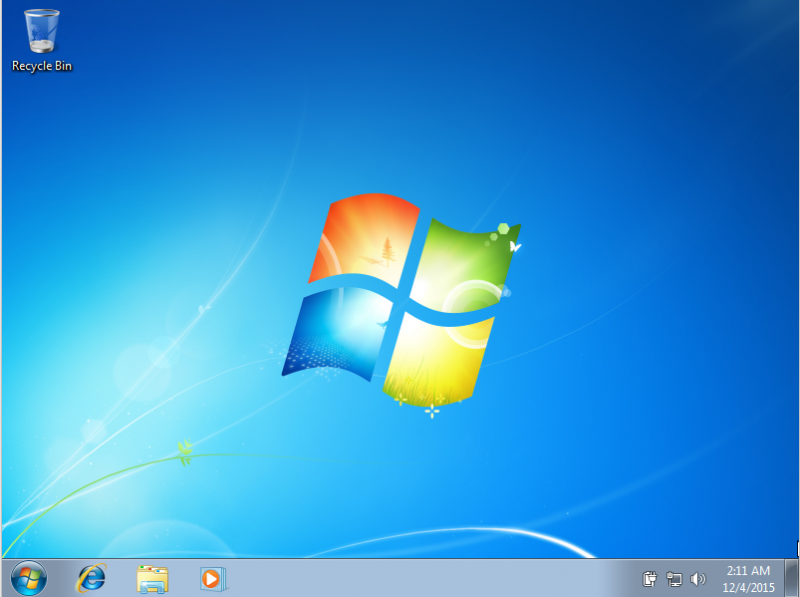
Step 11: Windows 7 is ready.
There is no product key or serial for Windows activations in METU. After Windows 7 installation, computers connected to METU Campus network with appropriate network configuration will be activated automatically in three days without any user intervention. Therefore, you must download batch file from https://software.cc.metu.edu.tr. You can follow below steps to activate Windows 7.
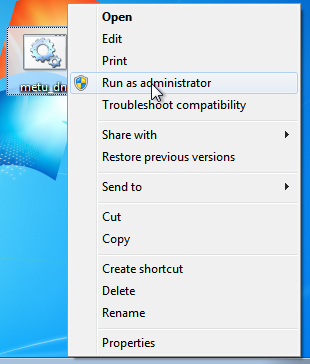
Step 1: You can download "metu_dns.bat" file from here.
Step 2: You should select it, right click and select the "Run as administrator" option to run it. Windows restart may be required after running this file.
Step 3: Windows should be connected to campus network (at least for once) and be validated by the activation server within 30 days after installation. After that, the Windows 7 computer can be used outside METU campus or used without any internet/network connection for six months. After first activation is completed and activation server is set for once, system will renew its activation automatically within each six months.
After this setting is done, if immediately completing the activation is preferred, go to:
Control Panel -> System and Security -> System
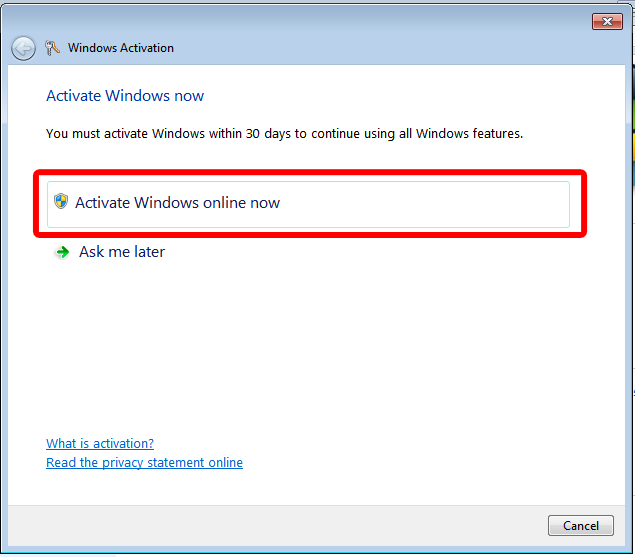
Then, you should click Activate Windows Now in the lower Windows Activation section.

Step 4: Then click the first option: Activate Windows online now in the next window.
Step 5: Windows will be activated. This will take time.
For manual activation Command prompt window should be opened in "administrator mode". For this; you can go to C:\Windows\System32 or you can search cmd.exe. Then you should select cmd.exe, right click and click Run as administrator option.
The following command should be entered after the command line window:
slmgr /skms kms.cc.metu.edu.tr:1688
After hitting return key, the dialog window telling that command has been processed should be closed by clicking "OK". Then
slmgr -ato
command should be entered. It may last for 20 seconds to a dialog window saying that Windows is activated successfully.
What to do if you have a Windows activation problem - 1
1- Please check the date and time of Windows OS and after correcting them repeat the activation process in case of any inaccuracy.
2- Install all the critical Windows updates and then repeat the activation process.
3- After activating Windows successfully, some error messages like, "This copy of Windows is not genuine" or "Activation Required" may be received (usually after a few months). In this case steps and commands above should be repeated. During the execution of these commands any third-party firewall and security software should be disabled. For the automatic extension of 6 months activation period by the operating system, third party firewall and security software should be configured to allow traffic from the port 1688.
What to do if you have a Windows activation problem - 2
In order to activate Windows OS by KMS, installed Windows OS should have a compatible predefined product key. If you get an error while activating from KMS, you can try to install the GVLK key that can be found at the below address for the installed OS version/type.
https://docs.microsoft.com/en-us/windows-server/get-started/kmsclientkeys
In order to install the KMS client Product Key, run the following command:
slmgr /ipk <Product Key obtained from Web site>
And to try KMS activation:
slmgr /ato
Related questions and problems can be sent via https://itsupport.metu.edu.tr/